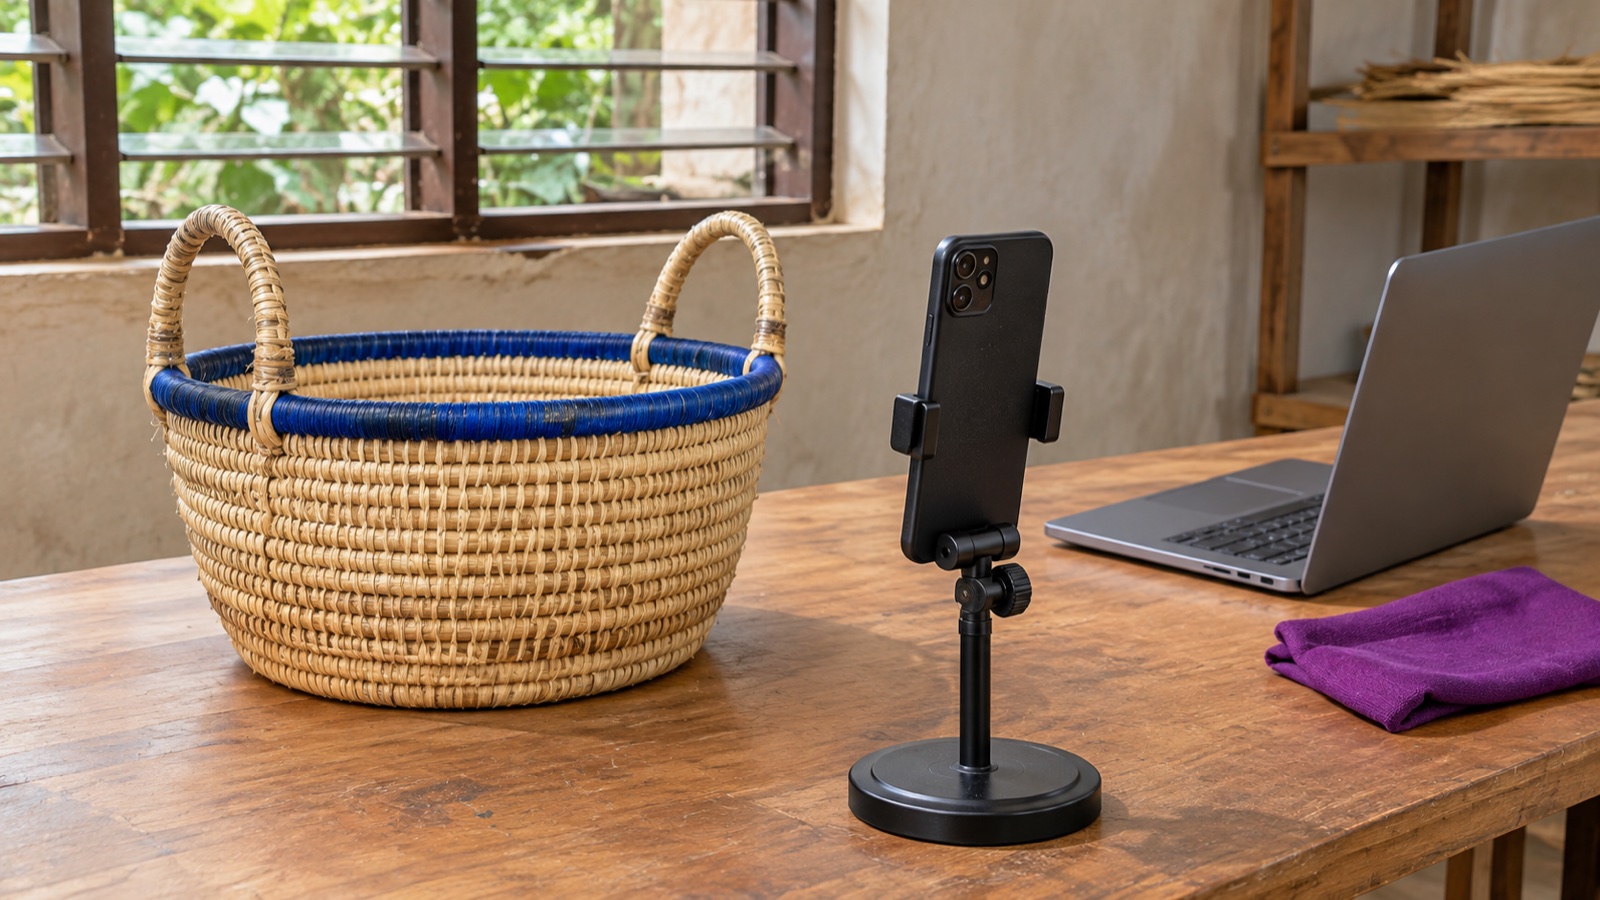
A clear photograph can show a customer the shape of a basket, the finish on a table or the space inside a guesthouse. Getting it onto your website involves a few decisions before you click Upload: which details matter, how large the file needs to be and how the picture fits the page.
This walkthrough uses a fictional basket business in Bolgatanga preparing a product photograph. The sample filename and description are invented for practice. Use the WordPress block editor with an account authorised to upload media and edit the page. Controls can vary with the WordPress version and theme; a page builder may use a different interface.
1 Choose the photograph and keep the original
Start with one image that helps someone understand the product or service. For the basket example, the rim, handles and weave should be clear. Check the background too: a useful product photograph should not accidentally include an order sheet or a customer's contact details.
Use a photograph you have permission to publish. Keep the original in your own files and make a separate working copy for the website. Give that copy a recognisable name, such as woven-basket-blue-rim.jpg, so you can find it again.
JPEG is a practical option for ordinary photographs. PNG can suit graphics that need transparency or precise edges. Other formats may fit an existing site workflow; use one your site's upload and image-processing setup supports. Export or convert the file properly rather than changing its filename extension. MDN's image-format guide explains the differences.
2 Prepare a copy for the place it will appear
Two measurements matter, and they answer different questions:
| Measurement | What it tells you | What to check |
|---|---|---|
| Width and height in pixels | How much image detail is available | Does the copy suit its intended position on the page? |
| File size in KB or MB | How much data the saved file contains | Can you reduce it while keeping the required detail clear? |
A small product card and a wide banner need different crops. Decide where this photograph belongs before exporting it. Use your image editor's resize and export controls to prepare a copy for that placement, keeping its proportions intact.
Compare the export with the original. In the basket example, look closely at the weave and the handle edges. If those details become smeared or blocky, reduce the compression or start again from the original. There is no single pixel width or KB target that suits every website image. WordPress's image size and quality guidance explains the balance between dimensions, compression and clarity.
Reducing unnecessary image data can lighten a page. Check the complete page afterwards rather than judging the change by one file.
3 Upload the working copy and inspect its details
In WordPress, open Media → Add New or Add New Media. Check the maximum upload size shown there, then select the prepared file and wait for the upload to finish. That limit is an upload ceiling, not a recommended photo size. The WordPress upload guide describes this screen.
Open Media → Library, select the new image and review its filename, dimensions and file size. The Media Library reference explains these details. Check that you uploaded the working copy rather than the large original or a different photograph with a similar name.
If further adjustment is needed, WordPress's media editor offers scaling and cropping. Work on the new copy, review which image sizes the edit will affect and save deliberately. Scaling reduces pixel dimensions; cropping removes part of the picture. WordPress documents both in its media-editing guide. Keeping your separate original makes it easier to prepare another version later.
If upload controls are missing, check the account's permissions with the site administrator. Our colleague-access guide explains why different WordPress roles see different controls.
4 Add the image to a draft and check its shape
Open the page you want to edit, or create an unpublished practice page. Our Services-page tutorial covers starting and organising a page.
Add an Image block with the + inserter, choose Media Library and select your prepared photograph. In the block settings, choose an appropriate available resolution rather than automatically selecting Full Size. The options depend on the uploaded image and site setup.
Keep width and height automatic initially. If you adjust width, let height follow proportionally. Where an aspect-ratio control crops the displayed picture, check that the handles and rim remain visible. The current Image block guide shows these controls.
Making an image appear smaller on the page does not prove that its underlying file has become smaller. Review the prepared file and selected resolution as well as the visual layout.
5 Describe what the photograph contributes
Add useful alternative text, or alt text, for a photograph that communicates information. For our practice image, that might be: “Round woven basket with a blue rim and two handles.” Use that description only if it matches what is visible.
Write for someone who cannot see the picture. Avoid a list of search keywords or claims the photograph cannot demonstrate. A purely decorative image may need empty alt text; an image that acts as a link may need wording that explains its destination. The W3C alt-text decision tree helps distinguish these uses.
Check the alt text in the image's page block. Media Library text provides a default for later insertions; changing it does not automatically correct every image already placed on existing pages.
Use a caption when visitors need a visible product name or explanation. Keep essential ordering information in ordinary page text so visitors can read it without depending on the photograph.
6 Preview on a phone and check the public result
Preview the draft at desktop and mobile widths. Look at the photograph beside its heading and description: is it the right product, does it fit, and are the important details still visible? A crop that looks fine on a wide screen can deserve another look in a narrow layout.
When the page is reviewed and ready, publish or update it. Then open its public address in a fresh private browser window on a phone. Check that the photograph loads for a visitor, the crop still makes sense and any image link leads to the intended place. A draft preview and a public-page check serve different purposes.
Keep your original and the exported copy together. Leave older media in place until you have checked whether other pages still use it; tidying the whole library is a separate job.
Need help with an image upload on your Nakroteck-hosted website? Contact Nakroteck support with the domain, file type, file size, exact error and time of the attempt. Include a screenshot of the relevant controls if useful, keeping passwords and private customer information out of it.
Need help choosing the right setup?
Talk to Nakroteck before you buy hosting, domains, SSL, or website services. We will help you choose the right option for your business.